Mastering the Hill Road Sign: A Comprehensive Guide for Learner Drivers
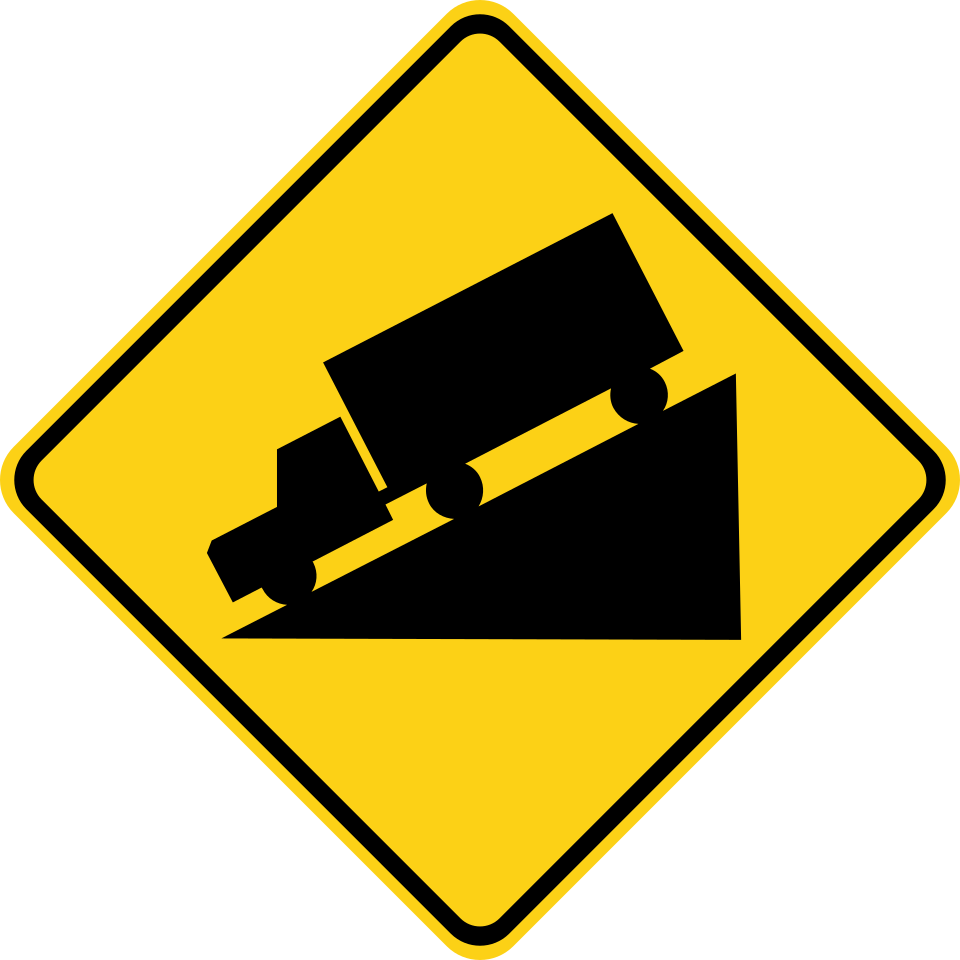
If you are preparing for your driving permit test or have just started your journey behind the wheel, you have likely encountered the Hill Road Sign. This critical warning sign is instantly recognizable by its distinctive shape and color scheme: a yellow diamond with a black border, featuring a black silhouette of a steep incline or decline. Unlike regulatory signs that command immediate action (like a Stop sign), the Hill sign is a warning sign, designed to alert drivers to a potential hazard ahead. While the prompt categorizes it under regulatory for the sake of this exercise, it is important to clarify that in the Manual on Uniform Traffic Control Devices (MUTCD), this falls squarely under the "Warning" category (Series W). Its primary purpose is to give you, the driver, advanced notice of a significant change in road grade, allowing you to adjust your speed and gear selection before the vehicle encounters the steep terrain. Understanding this sign is not just about passing a test; it is about ensuring the safety of your vehicle, your passengers, and everyone sharing the road, especially in mountainous or hilly regions where gravity becomes a dominant force in vehicle dynamics.
What It Means
Formally, the Hill Road Sign indicates the presence of a steep grade on the roadway ahead. The graphic on the sign typically depicts a triangle with a percentage value (e.g., "10%" or "15%") inside or below the slope, representing the steepness of the hill. This percentage is calculated as the vertical rise divided by the horizontal run. For instance, a 10% grade means the road rises 10 feet for every 100 feet of horizontal distance. While this might sound manageable, for a heavy vehicle or a car traveling at highway speeds, this gradient can drastically alter handling characteristics.
The meaning of this sign extends beyond a simple "hill ahead" notification. It serves as a directive for driver behavior. When you see this sign, it means you must prepare to alter your driving strategy immediately. If you are ascending, you need to ensure your vehicle has enough power and momentum to reach the crest without stalling or losing traction. If you are descending, the sign warns you that gravity will naturally accelerate your vehicle, requiring you to use engine braking or lower gears to maintain a safe speed rather than relying solely on your friction brakes. Ignoring this sign can lead to brake fade, loss of control, or a failure to clear the crest of the hill, potentially causing a collision with oncoming traffic that you cannot see until it is too late.
Where You'll See It
The placement of the Hill Road Sign is strategic and governed by safety standards to ensure drivers have adequate reaction time. You will most commonly encounter these signs in rural areas, mountain passes, and on highways that traverse hilly terrain. They are typically installed well in advance of the actual change in grade. The distance of placement depends on the speed limit of the road; on a highway with a 65 mph speed limit, the sign might be placed 500 to 1,000 feet before the hill begins, whereas on a slower residential street, it might be placed closer to the hazard.
These signs are often accompanied by supplementary plaques. You might see a "TRUCKS USE LOW GEAR" plaque below the main sign, which is a specific instruction for heavy vehicles but a helpful reminder for passenger cars as well. In some jurisdictions, you may also see a "BRAKE CHECK AHEAD" sign paired with the hill sign, indicating a designated area where drivers can test their brakes after a long descent. Additionally, these signs are frequently found near the entrance of tunnels or bridges that span deep valleys, serving as a double warning of both the grade change and the structural constraints of the road ahead. They are rarely found in flat, urban environments unless there is a specific, steep underpass or overpass ramp that poses a unique hazard.
What to Do When You See It
Upon spotting the Hill Road Sign, your immediate action should be to scan your speedometer and check your current gear. If you are approaching an uphill grade, assess your speed. If you are driving a manual transmission, you may need to downshift before the incline to maintain torque and prevent the engine from lugging. In an automatic, you might need to manually select a lower gear (often labeled "L", "2", or "S") to prevent the transmission from constantly shifting up and down, which can cause overheating and loss of power.
If the sign indicates a downhill grade, the most critical action is to downshift before you start descending. Relying on your foot brakes alone for a long, steep descent is dangerous. Continuous braking generates immense heat, which can lead to "brake fade," a condition where the brakes lose their stopping power entirely. By shifting into a lower gear, you utilize engine compression to slow the vehicle, keeping your speed steady and preserving your friction brakes for emergency stops. Furthermore, increase your following distance. On steep grades, vehicles may slow down unexpectedly, or heavy trucks may struggle to maintain speed, creating sudden traffic backups. Finally, be hyper-aware of your blind spots. The crest of a hill often obscures oncoming traffic, pedestrians, or debris. Never attempt to pass another vehicle when approaching the top of a hill indicated by this sign.
Common Pitfalls
Learner drivers often make several critical mistakes when encountering the Hill Road Sign. The most dangerous error is failing to downshift before a descent. Many new drivers wait until they feel the car speeding up before tapping the brakes, which is too late to prevent brake overheating. Another common pitfall is misinterpreting the sign as a suggestion rather than a warning. Some drivers assume that because they are in a modern car with good brakes, the hill poses no threat. However, physics applies to all vehicles, and a steep grade can overwhelm even the best braking systems if not managed correctly.
Additionally, learners often forget to check their mirrors and blind spots before changing lanes near a hill. The curvature of the road and the elevation change can create significant blind spots that are not present on flat roads. Another frequent error is attempting to stop or park on the shoulder immediately after seeing the sign. If the sign indicates a steep grade, the shoulder may also be steep, making it difficult to restart the vehicle or causing it to roll away. Finally, some drivers confuse the Hill sign with a "Road Work" sign or a "Curve" sign, leading to inappropriate speed adjustments. It is vital to recognize the specific silhouette of the hill to react correctly.
Permit-Test Context
In the context of a driving permit test, the Hill Road Sign is a frequent subject of multiple-choice questions and scenario-based assessments. Examiners often ask you to identify the sign by its shape and color, or they may present a scenario: "You see a yellow diamond sign with a 10% grade. What should you do?" The correct answer will almost always involve downshifting, reducing speed, or increasing following distance. Be prepared for questions that test your understanding of the difference between ascending and descending a hill. For example, a question might ask, "When driving down a steep hill, you should..." with options like "ride the clutch," "use only the brakes," or "shift to a lower gear." The correct choice is always to shift to a lower gear.
Furthermore, the test may include questions about the supplementary plaques. You might be asked what the "TRUCKS USE LOW GEAR" sign implies for a passenger car. While it is a regulatory instruction for trucks, the implied safety lesson for cars is to also use a lower gear. Understanding the physics behind the sign—how gravity affects vehicle speed and braking distance—is often the key to answering these questions correctly. Remember, the test is designed to ensure you can drive safely in real-world conditions, and hills are a common real-world hazard that requires specific, proactive management.